
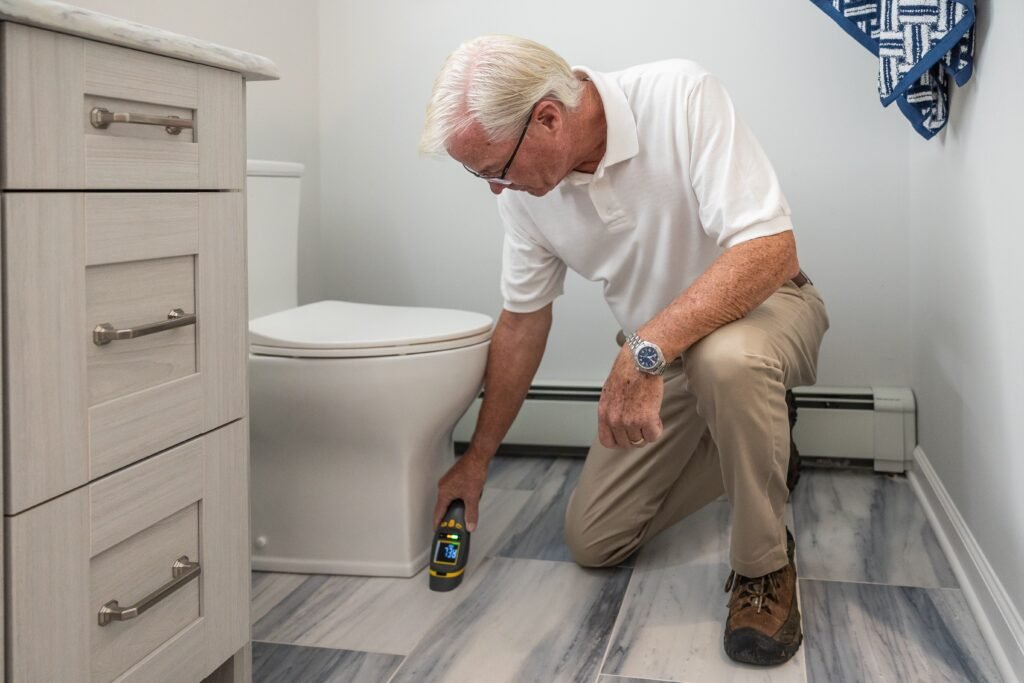
A slab leak is a leak in a water or drain pipe under the concrete slab of a home, and slab leak repair is the work of finding that leak accurately, reaching the pipe, and fixing or bypassing the failed section so the leak stops and the floor can be restored. The direct answer is simple: do not start with a repair method. Start with detection. A good repair follows from an accurate location, a clear test result, and a method chosen for that leak, that pipe, and that floor, not from a guess about what might be wrong under the slab.
This hub guide walks through the whole sequence in order, so you know what to expect before anyone opens concrete, what questions matter at each stage, and how the main methods compare on disruption, floor restoration, and repeat leak risk. It is an overview. The detailed service pages linked above carry the fuller method detail, and this hub deliberately does not repeat their service copy.
Signs that point to a slab leak
Slab leaks are easy to miss at first because the pipe is hidden. The signs below do not prove a slab leak on their own, but a combination of them is a strong reason to arrange detection promptly.
A water bill that rises without a change in use is one of the most common early signs. A meter that keeps moving when every tap, appliance, and outdoor outlet is off points in the same direction, although that test is more useful for a supply leak than for a drain leak, as explained later in the detection article.
Warm or damp spots on the floor deserve attention, especially a warm patch on a hard floor where no heating source explains it. A warm spot can suggest a hot water supply leak under that area, while a damp spot, a musty smell, or flooring that buckles, lifts, or stains can suggest water reaching the floor finish from below.
Sound can also help. A faint hissing, running, or trickling sound near a floor or wall when no water is in use may be water escaping under pressure. Low water pressure at several outlets, or a hot water system that seems to run more than usual, can be related signs, although each can have other causes as well.
Cracks in flooring, tile grout that darkens or loosens, and dampness at the base of a wall are later signs that should not be ignored. None of these signs, alone, tells you where the leak is or which pipe failed. That is why detection comes before repair, and why a repair quoted before detection should be treated as provisional at best.
The visit sequence, step by step
Understanding the sequence helps you judge whether the work is being done in the right order.
Step 1: History and visible checks. A specialist will usually ask when the signs started, whether the water bill changed, whether any floor area feels warm or damp, and whether any plumbing work has been done before. Visible checks cover the meter, exposed pipes, water heater connections, and any damp or damaged flooring.
Step 2: Meter and pressure tests. For a supply leak, the meter test and pressure tests help show whether water is escaping from the pressurised supply system, and whether the hot side or the cold side is involved. These tests narrow the search, but they do not pinpoint a leak on their own.
Step 3: Listening, thermal, and other location tests. Acoustic listening, thermal imaging, and related tools help narrow the location further. Thermal imaging is especially useful for a hot water leak, where warmth shows through the floor. Each test has limits, and a careful specialist will explain what a test can and cannot prove rather than presenting one reading as final proof.
Step 4: Drain checks where needed. If supply tests do not explain the signs, drain pipes need checking too. Drain leaks behave differently, they are not under pressure in the same way, and they may not show on a meter test. Camera inspection and other drain tests are covered in the detection guide.
Step 5: A written finding. Before repair, you should receive a clear written finding: which pipe is thought to have failed, where the leak is believed to be, which tests support that finding, and what remains uncertain. If that finding is vague, ask for it in writing before agreeing to open concrete.
Step 6: Method choice. Only after detection should the method be chosen. The choice depends on leak location, pipe material and condition, number of leaks, flooring over the leak, and whether the failed line is likely to leak again nearby. A method chosen before detection is a guess, and a guess under concrete is expensive to correct.
Step 7: Access, repair, and restoration. Access means reaching the pipe, either by opening the slab at the leak or by rerouting around the slab. Repair means fixing or bypassing the failed section. Restoration means putting back concrete, flooring, and finishes. Ask, at the quote stage, what each stage includes and what is excluded, so the restoration is not a surprise later.
Method comparison: disruption, restoration, and repeat leak risk
The table below is an overview only. It compares the main approaches in general terms. Suitability depends on your leak, your pipes, and your home, and a specialist should explain which options fit your case and which do not.
| Method | What happens in plain terms | Disruption | Floor restoration | Repeat leak risk to weigh |
|---|---|---|---|---|
| Direct spot repair | The slab is opened at the leak and the failed section is fixed | Localised to the opening, but concrete work inside the home | Concrete patch plus flooring repair over the opening, matching can be the hard part | Lower if the rest of the line is sound; higher if the line is old or has already leaked before |
| Rerouting | A new line is run around the slab, often through walls or attic space, and the old line is left in place | Slab stays intact, work moves to walls, ceilings, or attic space | Little or no slab restoration, but wall or ceiling finishes may need repair | Lower for the rerouted line, because the failed line is bypassed, although other old lines remain |
| Tunneling | Access is gained from outside or below, so the slab is reached without opening the floor above | Work is outside or below the home, interior disruption is reduced | Floor finishes above are largely preserved, exterior or below slab restoration still applies | Similar to a spot repair for that section, judged by the condition of the rest of the line |
| Repiping a line or section | A whole line, or a longer section, is replaced rather than one point | Wider than a spot repair, but planned as one job rather than repeated openings | Depends on route chosen, through walls or under slab, and on finishes affected | Lower for the replaced line, because weak points along that line are removed in one job |
| Pipe lining | A lining is placed inside an existing pipe to seal it from within | Less opening than a spot repair in suitable cases | Limited floor work in suitable cases | Depends heavily on pipe condition, diameter, and whether lining suits that pipe at all |
Read the table by trade off, not by price alone. A method with less floor disruption may involve more wall or attic work. A method that fixes one point quickly may leave an old line that leaks again nearby. A method that replaces more pipe costs more disruption now but may reduce the chance of a second opening later. The right question is not which method is best in general, but which method fits this leak, this pipe, and this floor.
What a good repair conversation sounds like
A good conversation starts with detection results, not with a method. It names the pipe, the location as far as it is known, and the uncertainty that remains. It sets out at least the realistic options, with disruption and restoration explained for each, rather than presenting one method as the only option. It separates detection, access, pipe repair, restoration, and drying into clear parts of the quote, so you can compare quotes fairly. It gives a warranty in writing, covering labour and parts, with its limits stated. And it explains what happens if detection finds an additional leak, or if the work proves more extensive than expected, before work starts rather than after.
Watch for the opposite pattern: a method chosen before detection, a single number with no breakdown, pressure to decide at once, or a warranty that is only spoken. Any of those is a reason to pause and get a second written view, even if the first specialist can start sooner.
Frequently asked questions
What is slab leak repair, in one sentence?
Slab leak repair is finding a leak in a pipe under a concrete slab, reaching that pipe, and fixing or bypassing the failed section so the leak stops and the floor can be restored.
Should detection come before repair?
Yes. Detection locates the leak and identifies the pipe involved, so the repair opens the right place and uses the right method. A repair quoted before detection is provisional, because the location and method are not yet known.
Which method is best, spot repair or rerouting?
Neither is best in general. A spot repair suits a single leak in an otherwise sound line with reachable access. Rerouting suits a case where opening the slab is costly in disruption or restoration, or where the old line is likely to leak again. The choice follows detection, pipe condition, and flooring.
Will my floor need restoration after slab leak repair?
It depends on the method. A spot repair needs concrete and flooring restoration over the opening. Rerouting largely avoids slab restoration but may need wall or ceiling finish repair. Tunneling preserves the floor above but still involves restoration where access was gained. Ask what restoration is included in any quote.
What is repeat leak risk, and why does it matter?
Repeat leak risk is the chance that the same line leaks again nearby after a single point is fixed. It matters most when a line is old, corroded, or has leaked before. In that case, bypassing or replacing more of the line may be worth discussing, even though it is a larger job now.
Does this hub replace the service pages?
No. This hub is an overview that explains the sequence and compares methods. The service pages carry the fuller detail for each method, and the cost guide explains quote layers and questions to ask before agreeing.