
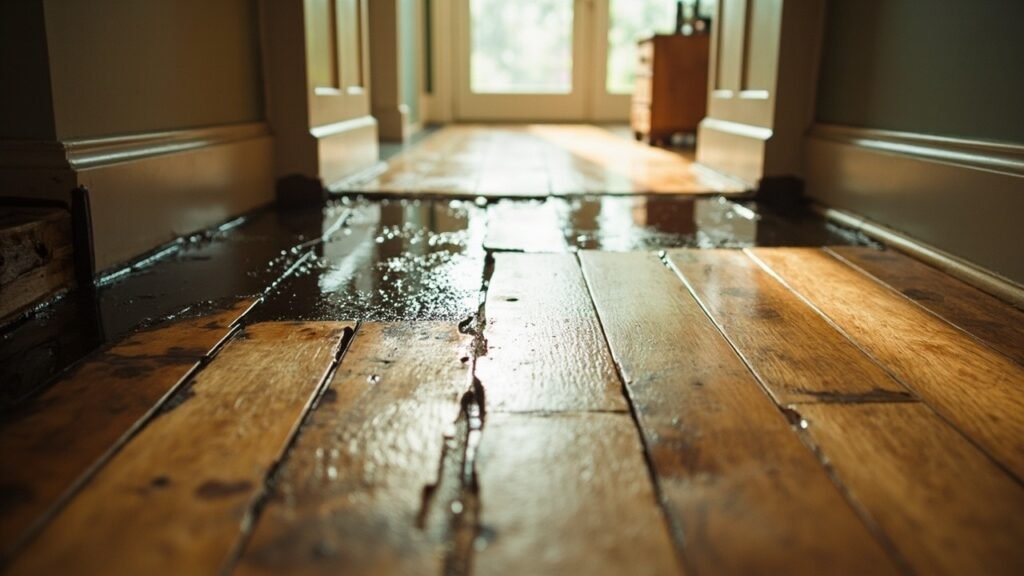
Flooring is often the first visible witness to a slab leak, because it sits directly above the concrete and reacts to moisture and heat before walls or ceilings show anything. Tile may crack or loosen, wood may cup or darken, and laminate may buckle or swell at the joints. Each material tells a slightly different story, and learning to read those stories can help you act early, while the damage is still limited. This guide explains what each flooring type reveals, what to check around the damaged area, and what not to do while you investigate.
What tile floors reveal
Tile is hard and water resistant on its surface, so tile damage from a slab leak often appears as grout that darkens or stays damp, tiles that sound hollow when tapped, tiles that loosen or lift, or cracks that run across several tiles in a pattern rather than a single impact chip. A warm tile in one area, while neighboring tiles feel cool, can point to a hot line leak below. Because tile hides moisture well, the subfloor and adhesive beneath may be wet long before the surface looks alarming. If several tiles in one zone loosen or crack together, photograph the pattern and note whether the area feels warm, rather than replacing the tiles at once. New tile over a wet slab will fail again, and it will hide the leak while it continues.
What wood and laminate floors reveal
Wood reacts to moisture by swelling, cupping at the edges, darkening, or developing gaps as it dries unevenly. Laminate reacts by swelling at the joints, buckling upward, or softening underfoot, since its core absorbs water readily. Carpet, where present, may feel damp, develop a musty smell, or show staining at the edges of the affected zone. In all cases, the shape of the damage matters. A round or spreading patch that grows over days points more toward a continuing water source below than toward a one time spill, which usually dries in a clear pattern and does not keep expanding. Note the outline of the damage with dated photos, so growth can be judged objectively rather than by memory.
Checks around the damaged flooring
Walk beyond the damaged patch and check the rooms on either side, the nearest bathroom and water heater, and any wall that shares the slab area. Look for baseboard swelling, paint bubbling low on a wall, a musty smell in a closet, or a warm spot on an adjacent hard floor. Run the meter test with all water off, and note whether the water heater cycles more often than usual, which can hint at a hot line leak. If the damage sits far from any plumbing fixture, consider whether a main run passes beneath that room, since a leak in a main line can surface away from fixtures. For the testing that follows these checks, our slab leak detection guide explains the methods used to confirm a slab source.
What not to do with damaged flooring
Do not seal, paint, or cover damaged flooring to hide it, since that traps moisture and allows damage to spread unseen. Do not sand or refinish cupped wood while the slab below is still wet, because the wood will move again as it dries and the finish will fail. Do not pull up large areas of flooring on your own if the slab below may be wet and the leak is still active, since that can spread moisture and create dust and debris without fixing the source. Do not ignore a small patch because it looks cosmetic. Flooring damage from a slab leak is a symptom, and the leak, not the floor, is the problem to solve first. Once the leak is repaired and the slab is dry, flooring restoration can be judged properly.
Preparing for repair and flooring restoration
Keep a dated photo record of the damage, including wide shots of the room and close shots of tile cracks, wood cupping, or laminate joints. Note when each change appeared and whether it is growing. Move rugs, furniture, and stored items off the affected area so the floor can be inspected and dried, and keep the area ventilated where possible without directing strong heat at the floor, which can warp wood further. Ask any repair plan to state what flooring removal is included, how the slab will be dried and checked, and what restoration follows. Our slab leak repair guide explains the repair choices that precede flooring work, and our tunneling page covers an access method that can limit flooring disruption in some cases.
A lesson from real work
A lesson from real work is to photograph floor changes as they appear, with dates. Cupped boards, loose tiles, and damp grout change slowly, and memory alone cannot judge whether damage is spreading. The useful habit is a dated photo from the same angle each time you notice a change, plus a note of any warm spots or musty smells. That record helps a professional judge urgency and helps you see whether a repair has stopped the movement.
Frequently Asked Questions
Does cracked tile always mean a slab leak?
No. Tile can crack from impact, poor adhesive, subfloor movement, or settlement. A slab leak becomes more likely when several tiles crack or loosen together in a zone, when grout stays damp, when the area feels warm, or when the pattern grows over time. Those combined signs deserve a leak check, not just a tile repair.
Can laminate buckling come from humidity alone?
Yes, high indoor humidity or a surface spill can swell laminate, but humidity usually affects a broad area or rooms with poor ventilation, while a slab leak creates a localized, growing patch. A meter test and a check of nearby plumbing help separate the two causes.
Should I remove damaged flooring before a leak is found?
Small, loose pieces can be lifted for inspection if safe, but large removal is best left until the leak is located and the repair plan is clear. Premature removal can spread moisture, damage salvageable material, and complicate the repair access plan.
Will flooring return to normal once the slab dries?
Some materials recover partially, but cupped wood, swollen laminate, and cracked tile usually need repair or replacement even after drying. Drying stops further damage and lets restoration be judged honestly, but it rarely reverses material damage that has already occurred.
Call for a Clear Next Step
If tile is cracking in a pattern, wood is cupping, or laminate is buckling in one growing zone, talk through your photos and meter readings before replacing the floor. Call +1 (972) 472-8573 to discuss the next step for your home in Little Elm.